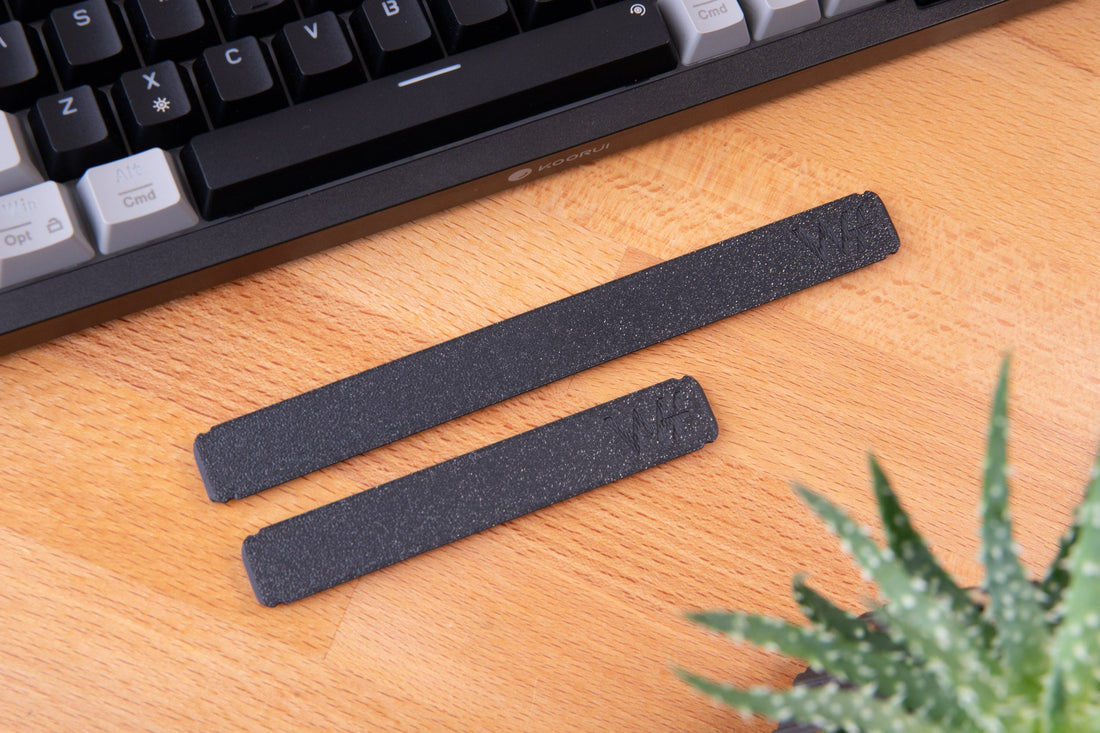
KeyRail Quick-Start Guide
Thank you for your KeyRail purchase! This quick-start guide will give you what you need to get your KeyRail installed onto your keyboard and ready to use!
Prep the Surface
Before installing your KeyRail, make sure the flat surface on the back of your keyboard is completely clean and dry. For best results, wipe it down with isopropyl alcohol to remove any dust, oil, or residue that could interfere with adhesion.
For the best results, wait 24 hours before loading the KeyRail.
Using The Install Guides
You will see two sets of small fittings that come with your KeyRail, one will be a set of Install Guides (pre-assembled onto your KeyRail), and the other parts will be a pair End Stops.

The Install Guides will help you install your KeyRail completely straight on your keyboard, and the End Stops are optional accessories to make sure your attachments don't slide off your KeyRail.

To install your KeyRail, remove the 3M adhesive liner. Then align the top corner of the Install Guides with the top edge of your keyboard. Rotate the KeyRail towards your keyboard while both Install Guide corners keep contact with your keyboard edge.

Firmly press down on the KeyRail for good adhesion to your keyboard. That's it! You may now remove the Install Guides from your Key Rail.

Using The End Stops
The End Stops are optional fittings that are made to stop your modular accessories from sliding off your rail. They can only be installed on the each end of the KeyRail.
To use the End Stops, simply hook the bottom end underneath the KeyRail where the small indentations are (there is an indentation at each end of the KeyRail).
Then push the top top of the End Stop towards the KeyRail. The End Stop should have a satisfying 'snap' into place.

That's it! Your KeyRail is now installed and ready to accept your KeyRail accessories!
Installing Your KeyRail Accessories
When first installing your KeyRail Accessories, there might be some initial resistance between the rail and the accessory, this is normal.
There is typically a 'break-in' period for these accessories. After a few slides across the rail, the resistance should drop dramatically.
